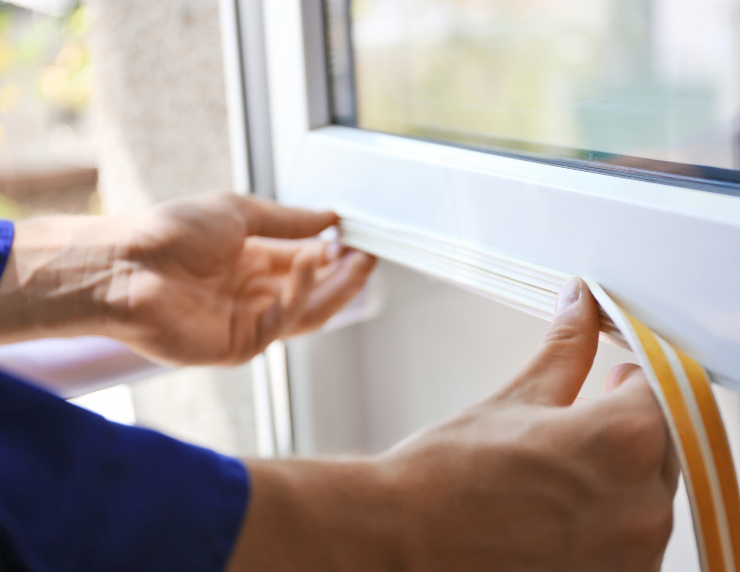
How to Replace Worn Weather Stripping (and Why It Matters This Fall)
- Admin Admin
- Nov 24, 2025
- 3 min read
Cool mornings are rolling in, and if your home suddenly feels a little draftier than you remember… your weather stripping may be the culprit. Over time, the strips around your doors and windows wear down, crack, or peel away — letting in chilly air and letting out the warm air you’re paying for.

The good news? Replacing weather stripping is one of the quickest, most affordable ways to improve comfort and energy efficiency in your home. And with just a few simple steps, you can do it yourself — or call in our handyman team to take care of it for you.
How to Tell If Your Weather Stripping Needs Replacing
Check for:
Visible cracks or flattening
Light shining through around the door
Cool air movement when you run your hand along the edges
Higher energy bills than usual
If you notice any of these, it’s time for a refresh.
What You’ll Need
New weather stripping (foam, rubber, or vinyl — door-specific types work best) ● Scissors or utility knife
Measuring tape
Screwdriver (only if removing old metal thresholds)
Rubbing alcohol or mild cleaner
Tip: Take a small piece of your old weather stripping to the hardware store to match sizing and style.
Step-by-Step: How to Replace Door Weather Stripping
1. Remove the Old Weather Stripping
Gently pull away the worn strip. If it’s glued, peel slowly. If it’s held with nails or screws, remove them carefully.
2. Clean the Surface
Use mild cleaner or rubbing alcohol to remove dust and old adhesive.
This helps your new weather stripping stick properly.
3. Measure and Cut Your New Strip
Measure the height of each side of the door frame and the width of the top. Cut pieces slightly longer than needed — you can trim later for a snug fit.
4. Install the New Weather Stripping
Peel adhesive backing (if adhesive style)
Press firmly along the frame
Make sure corners meet without gaps
If you’re using a V-seal or rubber compression strip, simply press it into the groove where the old one was.
5. Test the Door
Close your door and check:
No light should show through the sides
Door should close smoothly (not too tight)
If the door is hard to close, trim slightly and re-press into place.
Why This Small Task Makes a BIG Difference
✔ Keeps your home warmer and more comfortable
✔ Saves money on energy bills
✔ Reduces dust, pollen, and outdoor odors
✔ Helps your HVAC system work more efficiently
This simple update pays for itself — and then some.
Want It Done Professionally (and Stress-Free)?
We know some homeowners love a good DIY project — and others would rather not spend their Saturday wrestling with door frames. That’s where we come in.
Our handyman team in Kershaw County can:
Inspect all windows and doors for drafts
Replace weather stripping with professional-grade materials
Seal gaps and heat-loss areas you may not see
Make sure everything fits perfectly
Whether you just need a few drafty spots fixed or want a whole-home fall tune-up, we’re here to help.
Ready for a Cozier, More Efficient Home This Fall?
Call Today to schedule your weather stripping + fall home maintenance service!
Serving Camden, Lugoff, Elgin, Lake Wateree, and all of Kershaw County
Let’s make your home warm, comfortable, and guest-ready — all season long.


Comments